
Do you want to try something new in your garden this year? Winter wheat is a great option! Not only does it put nitrogen back into the soil, recharging it for the next growing season, but it can also prevent erosion. Plus, it’s really pretty to look at! Here’s everything you need to know about planting winter wheat for the first time.
Choosing the Right Location
One of the most important things to do when planting winter wheat is to choose the right location. The best spot will get full sun and have well-drained soil. Cultivated (Lab-Grown) Meat at a Crossroads: State Bans, “Cell-Cultivated” Labels, and What Comes Next. If possible, choose an area that hasn’t been planted with winter wheat before. This will help prevent disease and pests from becoming a problem.
Preparing the Soil
Once you’ve chosen the perfect spot for your winter wheat, it’s time to prepare the soil. Start by tilling the soil to a depth of about 6 inches. Then, remove any rocks or debris that you find. Next, add some compost or manure to help improve the quality of the soil. Once you’ve done all that, you’re ready to plant!
Planting and Care Instructions
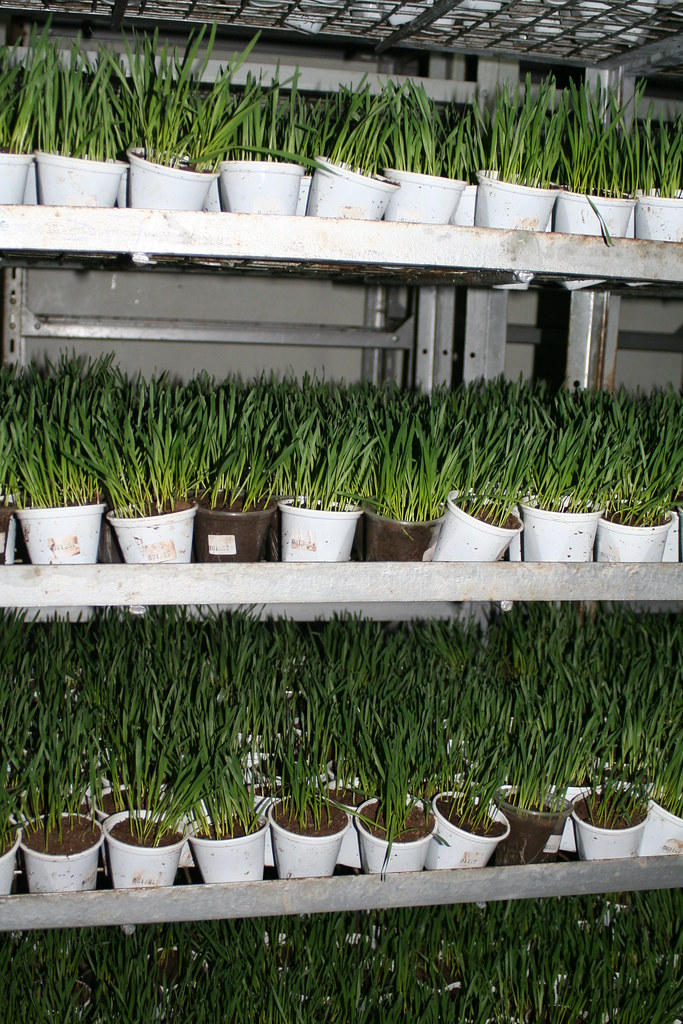
Winter wheat is usually planted in late fall or early winter, after the first frost. To plant, simply broadcast the seeds over the prepared soil and lightly rake them in. You don’t need to plant them very deep—just a quarter-inch or so should suffice. Once they’re planted, water them well so that the soil is nice and moist but not soggy.
That’s all there is to it! Just keep an eye on your winter wheat and make sure that it doesn’t dry out. If necessary, water it every week or so. Other than that, just sit back and enjoy watching your beautiful winter wheat grow!
Winter wheat is a beautiful, Begonia Soli-Mutata versatile crop that can benefit your garden in many ways. If you’re thinking about planting it for the first time, just follow these simple instructions and you’ll be on your way to a successful crop in no time!