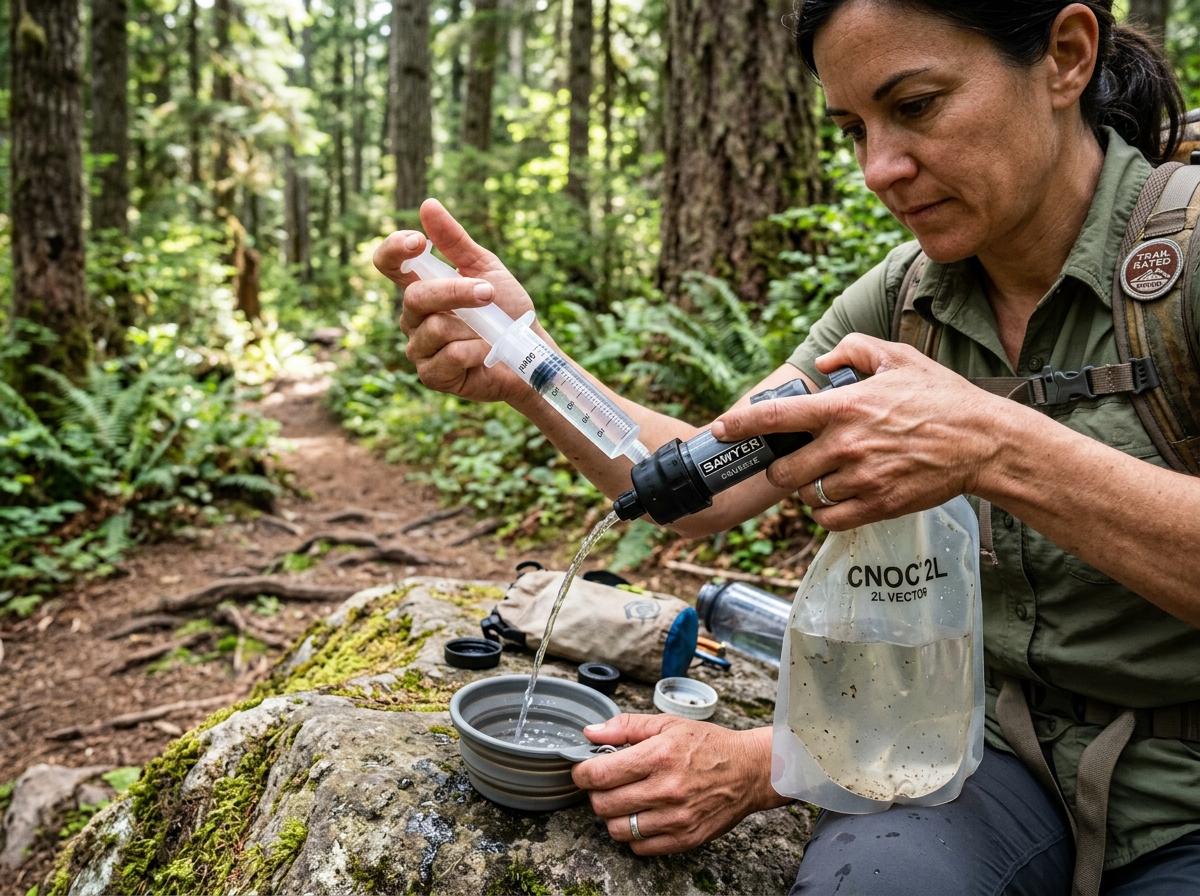
A slow water filter can turn a quick creek stop into a long sit on a wet rock. I’ve had filters that started fast, then slowed to a sad trickle after a few muddy fills. Most of the time, the filter was not worn out. It was just dirty.
Cleaning a camping water filter is simple, but there is one catch: every filter has its own rules. Push water the wrong way, use dirty rinse water, or let a wet hollow-fiber filter freeze, and you can turn a good tool into trail trash. I treat the maker’s directions as the final word.
Start by knowing what kind of filter you have
Most small squeeze and gravity filters use hollow fibers. Think of them as tiny tubes with very small holes. Water moves through the walls of those tubes. Dirt and many germs stay on the other side. Over time, silt and fine grit collect on the fibers and slow the flow.
That is why backflushing works. Clean water is pushed backward through the filter. It knocks loose some of the dirt that came in from the raw-water side. If you are still choosing a filter, my camping water filter guide explains the main types and where each one makes sense.
Pump filters and filters with carbon parts can have different care steps. Some cartridges can be scrubbed. Some should never be scrubbed. Some carbon parts are replaced, not cleaned. Read the manual before you start taking things apart.
Use clean water for the backflush
This sounds obvious, but it is worth saying. Do not backflush a filter with untreated creek water. You are pushing water toward the clean side of the system. Use water that is safe to drink.
The CDC’s hiking and camping water guidance is a useful reminder that clear-looking natural water can still carry germs. I use treated water for cleaning because I do not want to contaminate the clean side while trying to fix the flow.
At home, I use safe tap water unless the maker says otherwise. On the trail, I save a little filtered water for the job. That takes planning. It is much easier to clean a filter while it still moves water than after it is almost blocked.
Backflush before the flow becomes terrible
I used to wait until a filter was painfully slow. That works, but it makes the job harder. Now I clean it when I notice a clear drop in flow. On silty water, that may be every day. On a clean spring, I may go much longer.
Follow the direction shown by the maker. Many squeeze filters use a syringe, bottle adapter, or coupling. Push clean water through in the reverse direction. I like several firm flushes instead of one heroic blast. More force is not always better.
If you lost the cleaning adapter, do not guess at a homemade setup that could damage the filter. A replacement backflush coupler or syringe is cheap. I keep a small backflush coupler or cleaning adapter with my water kit so it does not wander off into the garage.
Dirty source water is the real enemy
The easiest filter to clean is the one you did not pack with mud. If a creek is cloudy, I let water settle in a pot or bag when I have time. Then I take water from the clearer top layer.
A simple cloth prefilter can catch leaves, bugs, and larger grit. It will not make unsafe water safe. It just keeps some junk out of the main filter. That small step can make a big difference when the source looks like weak coffee.
Water planning also changes with the trip. Our Great Smoky Mountains camping guide is a good example. Wet country may have many water sources, but rain and runoff can also stir up sediment. I would rather walk a little farther for a cleaner source than spend camp time squeezing mud through a filter.
Do not let a wet hollow-fiber filter freeze
This is the rule I take most seriously. Once a hollow-fiber filter has been used, water can stay inside the tiny fibers. If that water freezes, it can expand and damage them. The filter may still look normal afterward.
On a cold trip, I put the filter in a sealed bag and keep it close to my body. At night, it goes in the sleeping bag with me if temperatures may drop below freezing. It is not glamorous. Neither is wondering whether your filter still works.
If I know a used filter froze solid and the maker does not provide a trusted integrity test, I replace it. I do not gamble on a hidden crack. A new filter costs less than a ruined trip.
Clean the bags, caps, and threads too
The filter gets all the attention, but the rest of the kit gets dirty too. Mud builds up in bottle threads. Caps fall on the ground. Dirty-water bags can grow a smell if they are packed wet for weeks.
I rinse the bags after a trip. I clean the cap and threads. Then I let parts dry as much as the maker recommends. I keep dirty-side parts apart from clean bottle mouths. A small piece of tape on the dirty bag makes that easy when several bags look alike.
For a group setup, a spare clean-water bag is handy. You can find simple collapsible camping water bags in several sizes. I prefer plain bags with wide openings because they are easier to fill and rinse.
Long-term storage needs a little more care
When a trip ends, I do more than toss the filter into a tote. I backflush it well. Then I follow the maker’s storage steps. Some brands call for a sanitizing step before long storage. Others give a set mix and soak time.
I do not invent my own bleach strength. Too much chemical can hurt materials. Too little may not do the job. The manual is boring, but it is cheaper than buying a new filter because I played chemist at the kitchen sink.
Store the filter where it will not freeze, bake in a hot shed, or sit in direct sun. I also keep the cleaning tool with it. That way the whole kit is ready when I pack again.
Know when cleaning is not enough
Backflushing fixes dirt. It does not fix everything. A cracked housing, damaged seal, unknown freeze damage, or a filter that fails its maker’s integrity test is a different problem.
I also replace parts that will not seal. A missing washer can make a filter leak around the threads. A split bag can spray raw water where you do not want it. Small spare parts weigh almost nothing.
For longer backcountry trips, I still carry a backup treatment method. This beginner’s guide to backcountry camping is useful for thinking through the rest of the gear that supports a simple, safe camp. My backup is usually treatment tablets because they are tiny and do not care if I drop my filter on a rock.
My five-minute routine after a trip
- Backflush with safe water until the flow improves.
- Rinse dirty bags, caps, and threads.
- Check seals and the filter body for damage.
- Follow the maker’s sanitize and storage steps.
- Store the filter with its cleaning tool in a cool place.
I also check the rest of the camp power and water gear before I put it away. If your camp setup includes pumps, lights, or charging gear, our portable power station versus generator guide can help keep that part of the kit simple too.
A clean filter is a fast filter
I do not clean a filter because I enjoy chores. I clean it because a fast filter makes camp easier. The trick is to deal with the dirt early, protect the filter from freezing, and use the exact cleaning method the maker designed for it.
That is the whole plan. Start with the cleanest source you can find. Backflush before the flow becomes awful. Keep the clean side clean. Store the filter right. A few minutes of care at home can save a lot of squeezing beside the next creek.